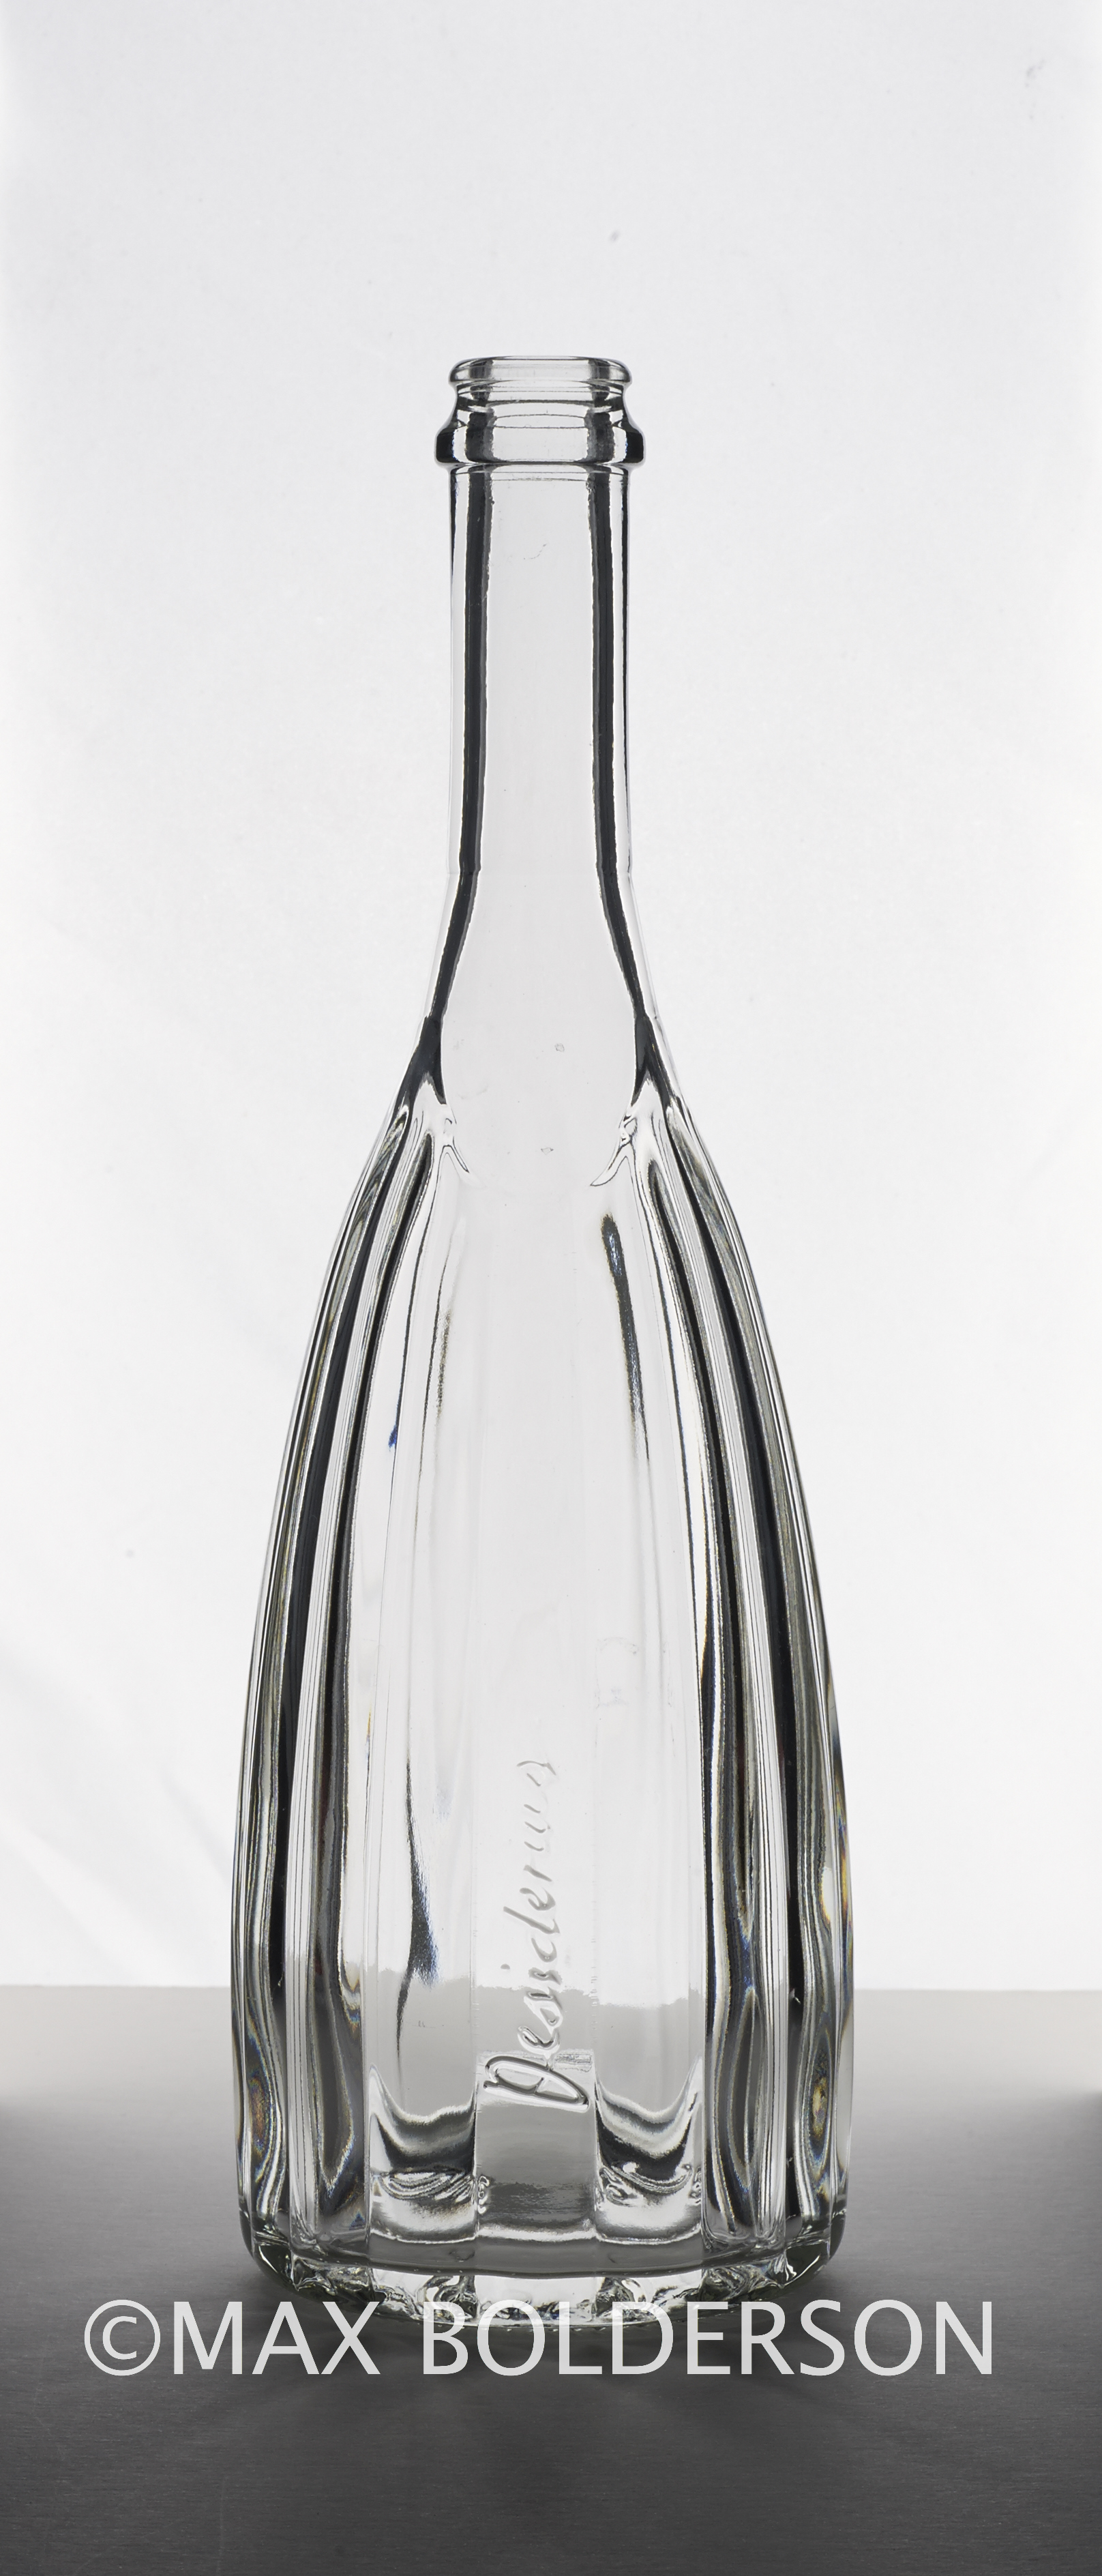
In one of our practical lessons we learned some handy tricks on how to photograph glass. We started off by setting up a table with a soft box directly behind it. We then set the camera up on one of the studio tripods that was then pointing into the flash. After setting up the camera we then took our first meter reading. When we had the reading we had to close the aperture down by two more stops because we were shooting into the light.
This was the first shot that I took. It is correctly exposed and looks ok but you cant really see the glass very well.

To make the glass more visible there is a handy little trick. If you get two bits of black card and place them ether side of the glass object. The reflection on the glass will show the outline of the bottle or vase that you are photographing.
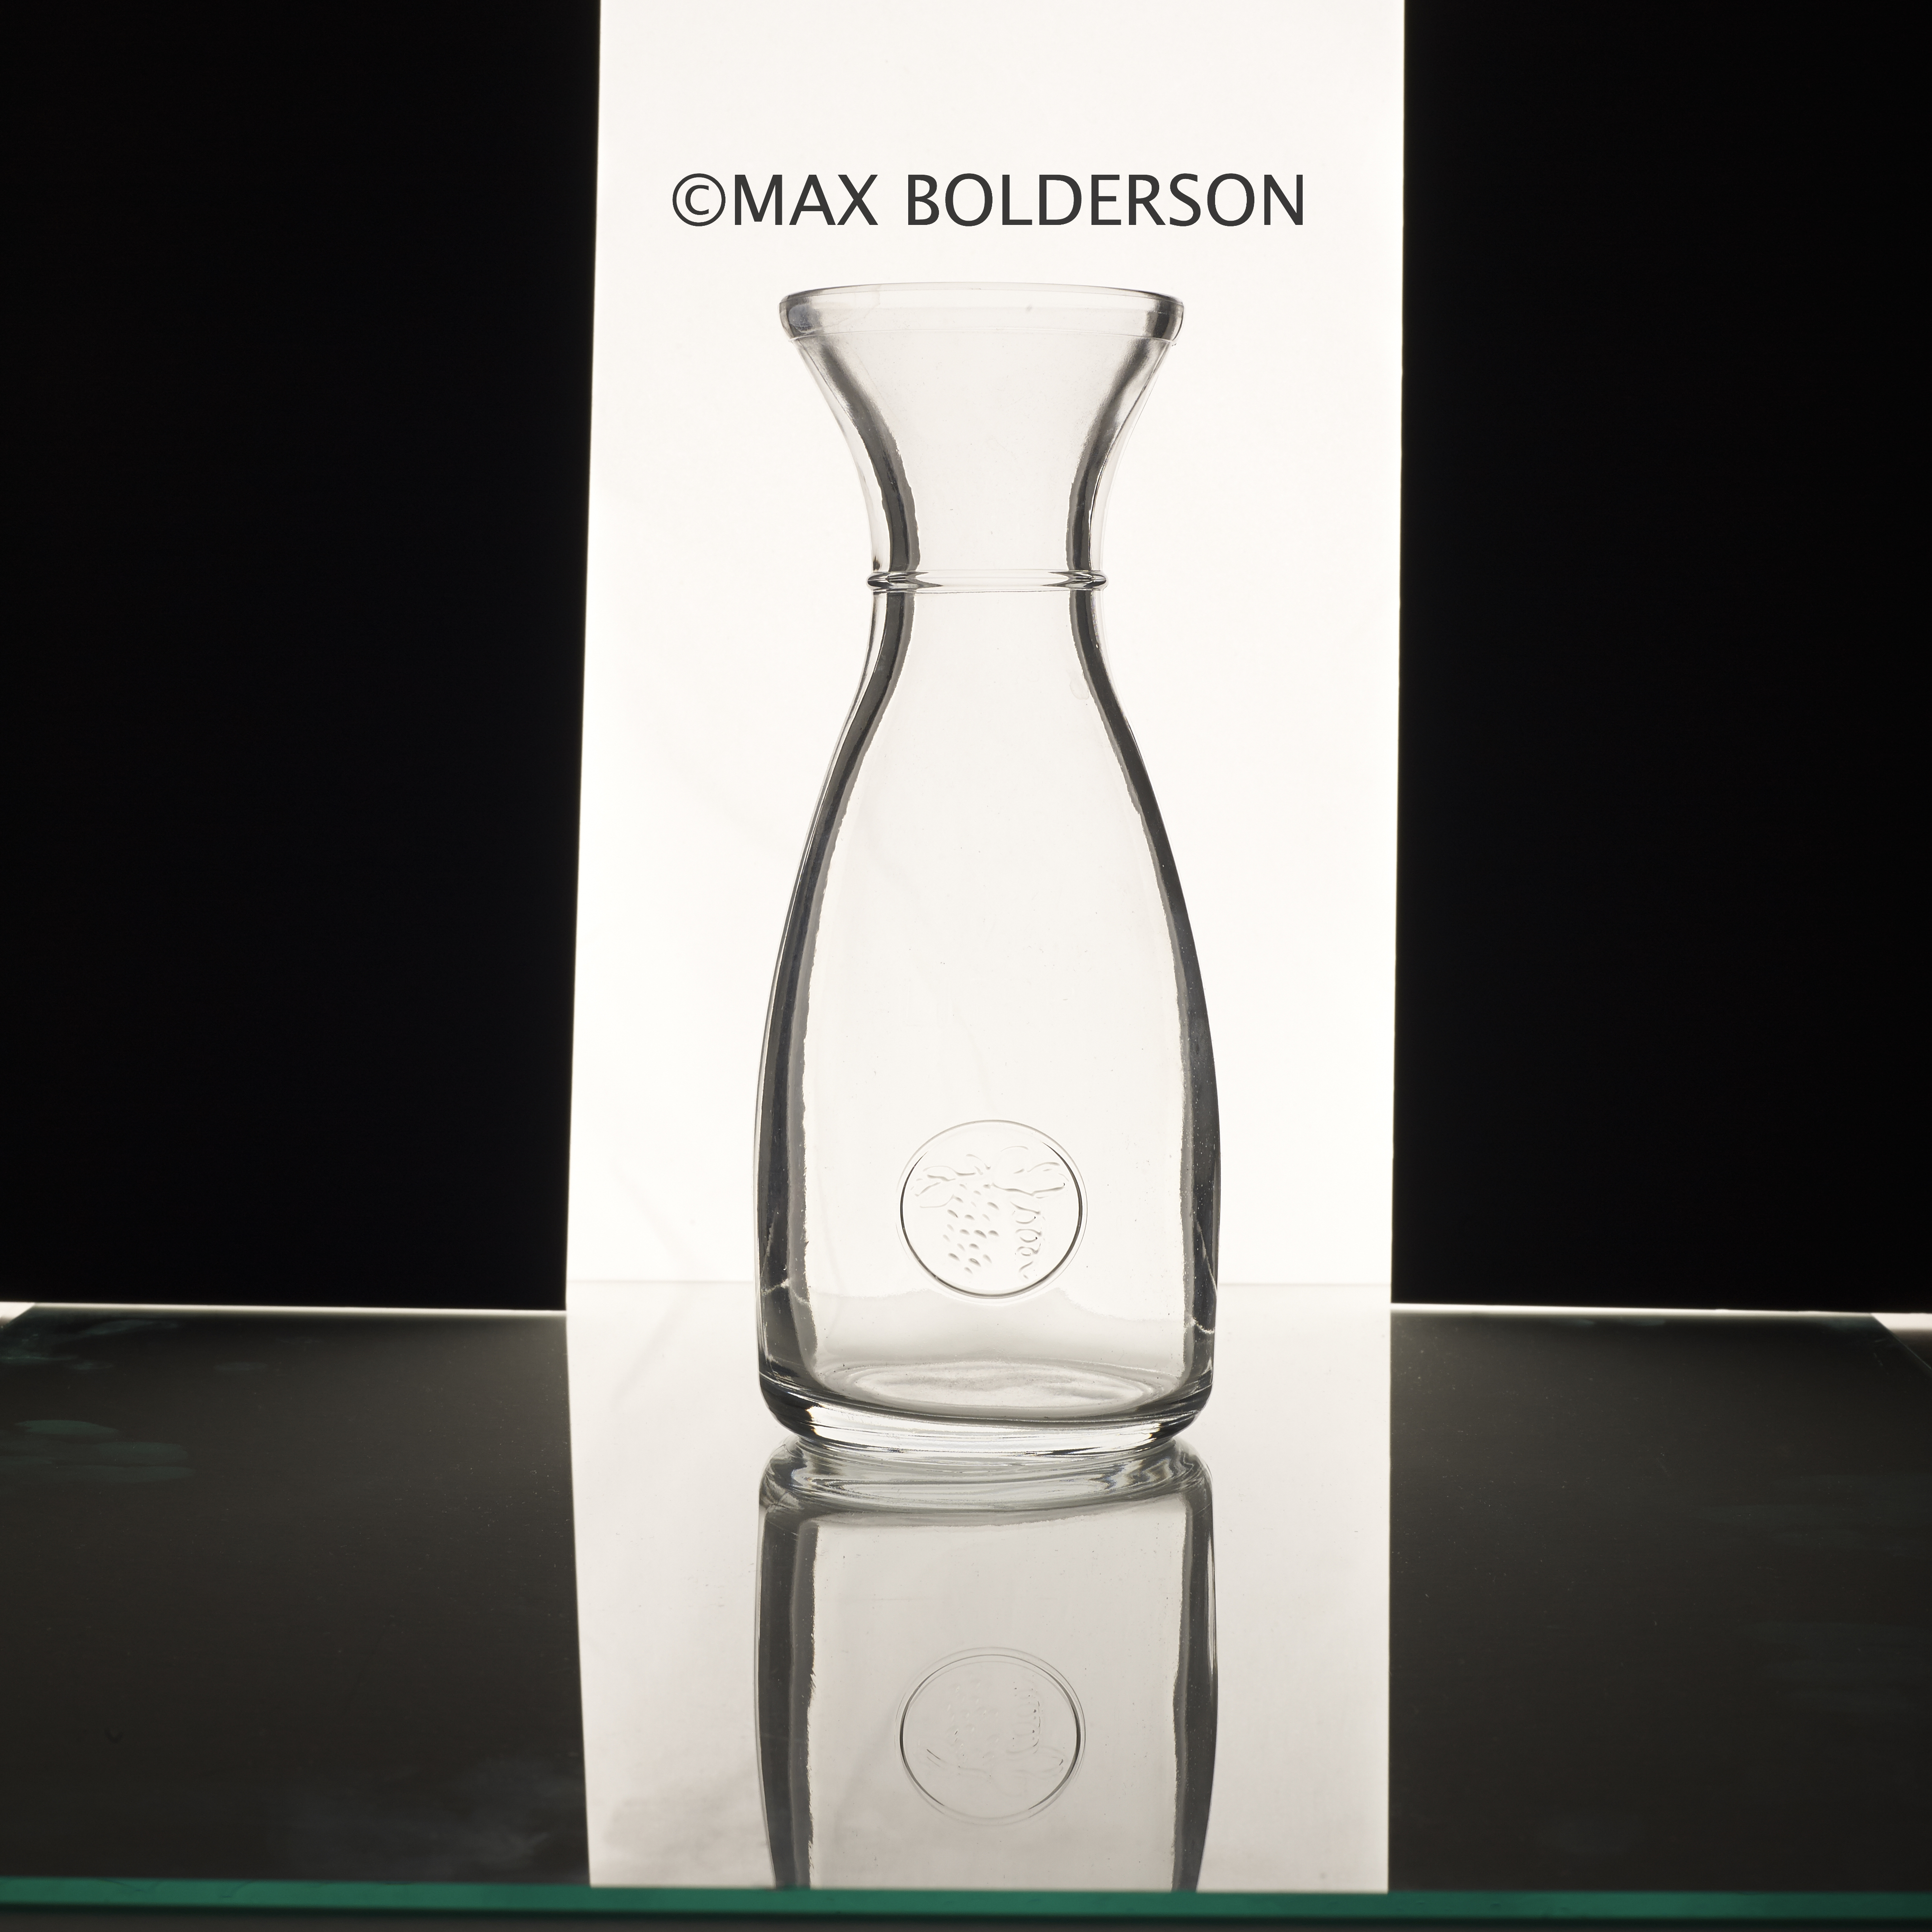
This is the setup that I had for my shoot. Also to get this affect i have placed the object on a sheet of glass this then gives it the mirrored effect hat is shown in the image above. To finish the image off you then take it into photoshop and crop the image so you can no longer see the black borders. You are then left with a long image like this.